

Let’s install a Quick File Server to serve files from a folder, we can use the serve package. Start by installing it using the following command $ npm install serve in your terminal:
$ npm install serve

added 88 packages, and audited 89 packages in 3s

24 packages are looking for funding
  run `npm fund` for details

found 0 vulnerabilities
Once the package is installed, you will see something similar like the below terminal output. After install the serve package, we follow the next steps to run it.

Step 1 – Create a new folder static
The first step is to create a new folder called static in your project directory. This folder will contains all the web application files that will be serve from the quick file server. You can create it using your preferred method to create it, I recommend to do this by running the next command:
$ mkdir static
Step 2 – Create files inside the static folder
The second step is to create your files inside the static folder, your first file you should be the index.html file because is the land page, then you can add the files need by your project. I add the app.js file to give functionality to the index.file. You can use the next code below. Place the respective code into each file as shown below:index.html file:
<html>
  <head>
    <title>My App</title>
    <script type="module" src="app.js"></script>
    <style>body { background: #fce7b6 }</style>
  </head>
  <body>
    <nav>
      <button id="fetch">Fetch Languages</button>
    </nav>
    <hr>
    <div id="products"></div>
    <template id="item">
      <style>
        details { font-size: 1.5em; }
        summary { cursor: pointer; }
        p { text-indent: 1.5rem; }
      </style>
       <details>
        <summary>
          <strong>
            <slot name="name"></slot>
          </strong> - <em><slot name="rrp"></slot></em>
        </summary>
        <p><slot name="info"></slot></p>
      </details>
    </template>
  </body>
</html>
app.js Folder:
const mockData = [
  {id: 'A1', name: 'Java', rrp: '21', info: 'The most cool language in the world.'},
  {id: 'A2', name: 'Node', rrp: 'v22.13.0', info: 'Node the language that we are learning.'},
  {id: 'A3', name: 'Python', rrp: '3.13.1', info: 'A language for ML.'}
]
const populateProducts =() => {
  const products = document.querySelector('#products')
  products.innerHTML = ''
  for (const product of mockData) {
    const item = document.createElement('product-item')
    for (const key of ['name', 'rrp', 'info']) {
      const span = document.createElement('span')
      span.slot = key
      span.textContent = product[key]
      item.appendChild(span)
    }
    products.appendChild(item)
  }
}

document.querySelector('#fetch').addEventListener('click', async () => {
  await populateProducts()
})


customElements.define('product-item', class Item extends HTMLElement {
  constructor() {
    super()
    const itemTmpl = document.querySelector('#item').content.cloneNode(true)
    this.attachShadow({mode: 'open'}).appendChild(itemTmpl)
  }
})
Step 3 – Start the server
The next step is start the server. Navigate to the root directory, that directory will contains the static folder within the terminal.
Then use the following command to start the file server, remember run this command outside static folder, it should be in the root node of your project:
$ npx serve -p 5050 static
This command will start the file server on port 5050 and serve the contents of the static folder, and it will give you an output similar like the below:
$ npx serve -p 5050 static

   ┌───────────────────────────────────────────┐
   │                                           │
   │   Serving!                                │
   │                                           │
   │   - Local:    http://localhost:5050       │
   │   - Network:  http://192.168.1.157:5050   │
   │                                           │
   │   Copied local address to clipboard!      │
   │                                           │
   └───────────────────────────────────────────┘
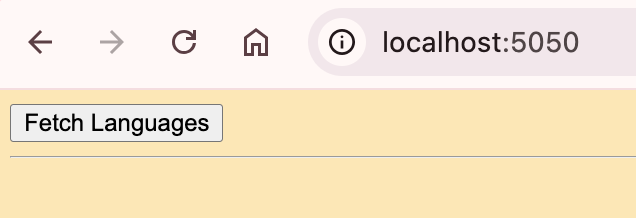
Now, you can open your browser and navigate to http://localhost:5050. You should see the web page with the Fetch Products button.
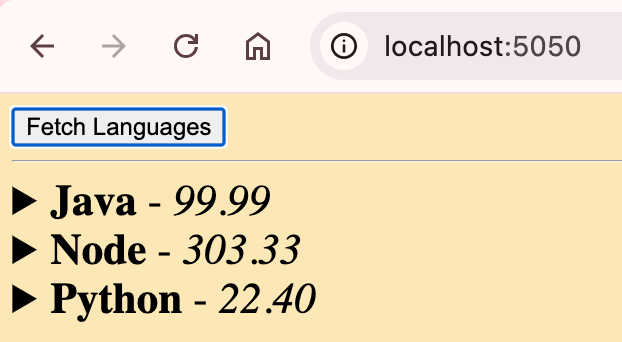
Click the Fetch Products button to populate the web page with some data.
You can also expand these sections by clicking on them. Once all of the sections are expanded, it should look like the image below:
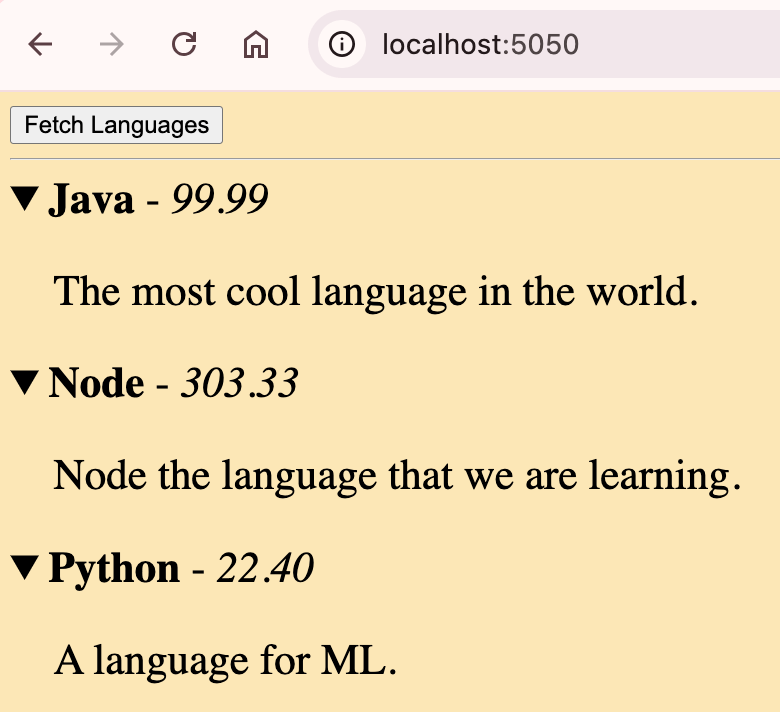
A little explanation, the data that generates the information in these elements is currently embedded in the client side code within app.js.
Feel free to customize the content of the index.html and app.js files according to your requirements.
In summary, this post covered the installation of the serve package and the creation of a static folder to house our web application files. We added an index.html and an app.js file to the folder, containing the required HTML and JavaScript code for our basic web application.
By executing the serve command with the proper options, we launched a file server hosting the static folder on port 5050, enabling us to access the web application in a browser via http://localhost:5050.
Happy Learning!!!

Leave a comment